Hexo-Fluid下的live2d 3.x看板娘实现

总感觉自己Blog太空了, 想搞个看板娘什么的。使用了 HEXO-live2d 发现只支持Cubism2版本的live2d, 其他也是这样(看了下Issues好像是因为商用版权什么的), 在官网看到了这个SDK所以尝试着ctrl+c ctrl+v了一下, 也没想到成功了:P
准备工作
-
TypeScript
npm install -g typescript
开始爆改
测试方法
进入\CubismSdkForWeb-x\Samples\TypeScript\Demo文件夹,使用命令行输入:
npm install
npm run build
官方推荐使用VS进行,此时命令有�所区别,详情请去Github查看。
此时会在\dist\下编译生成一个bundle.js, 在index.html中用于加载live2d模型。
接下来的地址若无特殊说明默认均在\CubismSdkForWeb-x\Samples\TypeScript\Demo文件夹下。
导入自己的模型
打开\src\lappdefine.ts文件, 找到如下代码:
export const ResourcesPath = '../../Resources/';


// モデル定義---------------------------------------------
// モデルを配置したディレクトリ名の配列
// ディレクトリ名とmodel3.jsonの名前を一致させておくこと
export const ModelDir: string[] = ['Haru', 'Hiyori', 'Mark', 'Natori', 'Rice'];
这里定义了各个live2d模型的文件位置, 我们要做的就是把我们的模型放到代码中的ResourcesPath这个位置, 默认情况下也就是\CubismSdkForWeb-4-r.3\Samples\Resources\下, 并在ModelDir中添加我们的模型名字。
值得注意的是,我们需要把.model3.json的文件名改成与文件夹一致。
例如,我在资源文件夹下放入了Nova模型,现在目录结构是这样的:
|
├─Nova
│  │  86.cdi3.json
│  │  86.moc3
│  │  86.model3.json
│  │  86.physics3.json
│  │  cc_86.cfg
│  │
│  └─86.4096
│          texture_00.png
├─Other_Models
那么我只需要将86.model3.json文件更名为Nova.model3.json即可。
此时你的目录结构应该是:
|
├─Nova
│  │  86.cdi3.json
│  │  86.moc3
│  │  Nova.model3.json
│  │  86.physics3.json
│  │  cc_86.cfg
│  │
│  └─86.4096
│          texture_00.png
├─Other_Models
而你的\src\lappdefine.ts文件的ModelDir字符串数组中也应该包含了"Nova"这一元素。
再次编译并运行本地服务器, 你现在应该能看到刚才导入的模型了。
你可以使用第三方工具如
Visual Studio或WebStorm打开本地服务器,或者在命令行输入npm run start后打开所示的网址, 进入Demo文件夹预览。
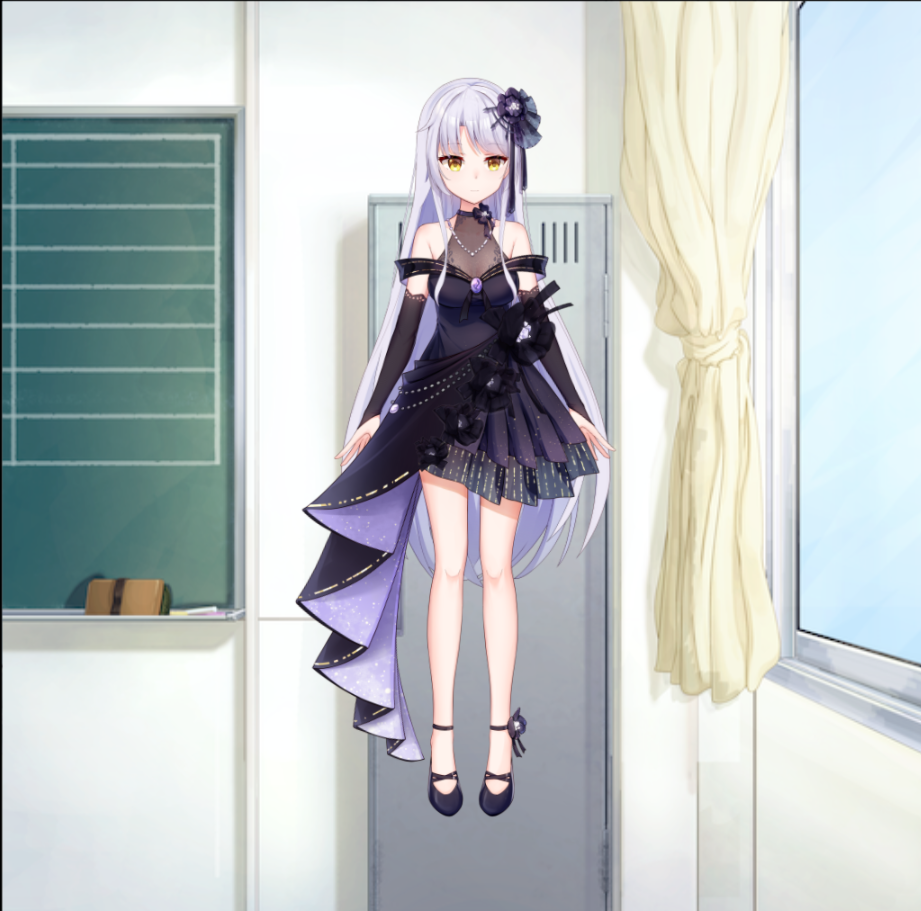
皮来自石油佬的奉献
修改模型跟随鼠标移动
SDK中默认看板娘是按住鼠标左键/鼠标右键才会跟随的,我们接下来的操作就是把它变成跟随鼠标移动的。
打开\src\lappdelegate.ts文件, 找到以下代码:
const supportTouch: boolean = 'ontouchend' in canvas;

    if (supportTouch) {
      // タッチ関連コールバック関数登録
      canvas.ontouchstart = onTouchBegan;
      canvas.ontouchmove = onTouchMoved;
      canvas.ontouchend = onTouchEnded;
      canvas.ontouchcancel = onTouchCancel;
    } else {
      // マウス関連コールバック関数登録
      canvas.onmousedown = onClickBegan;
      canvas.onmousemove = onMouseMoved;
      canvas.onmouseup = onClickEnded;
    }
注释掉,添加鼠标移动事件
document.addEventListener('mousemove', function (e) {
  const rect = canvas.getBoundingClientRect();
  const posX: number = e.clientX - rect.left;
  const posY: number = e.clientY - rect.top;
  LAppDelegate.getInstance()._view.onTouchesMoved(posX, posY);
});
// 其实就是把onMouseMoved()复制了一遍
此时发现无法进行点击之类的动作, 所以我们把onmouseup添加回来
在上面的代码下添加:
canvas.onmouseup = onClickEnded;

// 为了美观,我又添加了一个移出浏览器归位的事件
document.addEventListener('mouseout', function (e) {
  const live2DManager: LAppLive2DManager = LAppLive2DManager.getInstance();
  live2DManager.onDrag(0.0, 0.0);
});
再次测试,已经可以正常使用了。
绘制canvas
为了去除canvas中的背景, 我们打开\src\lappview.ts, 找到图像创建的方法注释掉
public initializeSprite(): void {
    const width: number = canvas.width;
    const height: number = canvas.height;

    const textureManager = LAppDelegate.getInstance().getTextureManager();
    const resourcesPath = LAppDefine.ResourcesPath;

    /*let imageName = '';

    // 背景画像初期化
    imageName = LAppDefine.BackImageName;

    // 非同期なのでコールバック関数を作成
    const initBackGroundTexture = (textureInfo: TextureInfo): void => {
      const x: number = width * 0.5;
      const y: number = height * 0.5;

      const fwidth = textureInfo.width * 2.0;
      const fheight = height * 0.95;
      this._back = new LAppSprite(x, y, fwidth, fheight, textureInfo.id);
    };

    textureManager.createTextureFromPngFile(
      resourcesPath + imageName,
      false,
      initBackGroundTexture
    );

    // 歯車画像初期化
    imageName = LAppDefine.GearImageName;
    const initGearTexture = (textureInfo: TextureInfo): void => {
      const x = width - textureInfo.width * 0.5;
      const y = height - textureInfo.height * 0.5;
      const fwidth = textureInfo.width;
      const fheight = textureInfo.height;
      this._gear = new LAppSprite(x, y, fwidth, fheight, textureInfo.id);
    };

    textureManager.createTextureFromPngFile(
      resourcesPath + imageName,
      false,
      initGearTexture
    );*/

	/*if (this._gear.isHit(pointX, pointY)) {
      live2DManager.nextScene();
    }*/
重新测试后发现先背景为全黑, 打开\src\lappdelegate.ts, 将背景透明度改为0
  public run(): void {
    // メインループ
    const loop = (): void => {
      // インスタンスの有無の確認
      if (s_instance == null) {
        return;
      }

      // 時間更新
      LAppPal.updateTime();

      // 画面の初期化
      gl.clearColor(0.0, 0.0, 0.0, 0.0); //将gl.clearColor(0.0, 0.0, 0.0, 1.0)的alpha修改为0.0
接下来就是对live2d模型布局的一个自定义, 这里直接套用了live2d 2.x版本的Live2D项目
该项目里的
js/live2d.js即为dist目录下的bundle.js, 因此我们应该对demo.html做一些修改
最终的修改
打开\src\lappdelegate.ts, 将initialize()中的canvas进行变动:
public initialize(): boolean {
    // キャンバスの作成
    // canvas = document.createElement('canvas');
    canvas = <HTMLCanvasElement>document.getElementById('live2d') // 需要与custom_html里的canvas的id对应
    if (LAppDefine.CanvasSize === 'auto') {
      this._resizeCanvas();
    } else {
      // canvas.width = LAppDefine.CanvasSize.width;
      // canvas.height = LAppDefine.CanvasSize.height;
    }
...
	// キャンバスを DOM に追加
    //document.body.appendChild(canvas);

  private _resizeCanvas(): void {
    // canvas.width = window.innerWidth;
    // canvas.height = window.innerHeight;
  }
把Live2D克隆出来的live2d文件夹放入hexo的source文件夹中, 再将先前编译的\dist\bundle.js 与\CubismSdkForWeb-4-r.3\Core\live2dcubismcore.js放入source\live2d\js\文件夹下, 最后找到hexo根目录下的_config.fluid.yml文件, 找到以下行:
# 自定义 <head> 节点中的 HTML 内容
# Customize <head> HTML content
custom_head:
添加上demo.html里的代码:
<link rel="stylesheet" href="/live2d/css/live2d.css" />
类似的, 找到custom_html行添加代码:
<div id="landlord">
  <div class="message" style="opacity:0"></div>
  <canvas id="live2d" width="280" height="250" class="live2d"></canvas>
  <!-- 如果你修改这里的id, 则对应JS的id也要改变 -->
  <div class="hide-button">隐藏</div>
</div>
<script type="text/javascript" src="https://cdn.bootcss.com/jquery/2.2.4/jquery.min.js"></script>
<script type="text/javascript">
  var message_Path = '/live2d/'
  var home_Path = 'https://haremu.com/' //可以修改为自己的主页链接或者删除
</script>
<!--将 live2d.js 改为 bundle.js -->
<script type="text/javascript" src="./live2d/js/bundle.js"></script>
<!--引入live2d的core-->
<script type="text/javascript" src="./live2d/js/ive2dcubismcore.js"></script>

<script type="text/javascript" src="/live2d/js/message.js"></script>
最后, 我们使用命令hexo clean && hexo g即可在blog上看到我们的live2d人物
其它
如何修改大小与中心点
刚刚添加完看板娘你可能会发现看板娘特别特别小。这时候你可以打开\CubismSdkForWeb-4-r.3\Framework\src\math\cubismmodelmatrix.ts文件并修改:
    /**
   * 横幅を設定
   *
   * @param w 横幅
   */
  public setWidth(w: number): void {
    const scaleX: number = w / this._width;
    const scaleY: number = scaleX;
    this.scale(scaleX*2, scaleY*2);
  }

  /**
   * 縦幅を設定
   * @param h 縦幅
   */
  public setHeight(h: number): void {
    const scaleX: number = h / this._height;
    const scaleY: number = scaleX;
    this.scale(scaleX*2, scaleY*2);
  }
  //你想放大多少倍就乘以多少即可
完成后重新编译bundle.js放入source\live2d\js\文件夹并重新部署hexo即可
后记
简单的修改并不能使看板娘趋于完美,你会遇到诸如模型显示不全、模型无法交互、模型跟随鼠标诡异等等问题, 解决方法也就是如上的删改源码, 自己添加实现。 由于精力有限实在是难以全部复述(毕竟写这个blog的时候看板娘已经部署好几个月�了())
你可以研究大佬已经做好的项目得到上述问题的大部分解决方法, 添加了不少自定义方法以优化看板娘体验, 甚至做到开盖即用(甚至还有BLOG与视频, 比起我这个详细到不知道哪里去了所以我花大量时间写这个BLOG的意义在哪里), 你可以前往仰望星空的sun了解更多。
人类存在的意义就是不断制造重复的轮子!